
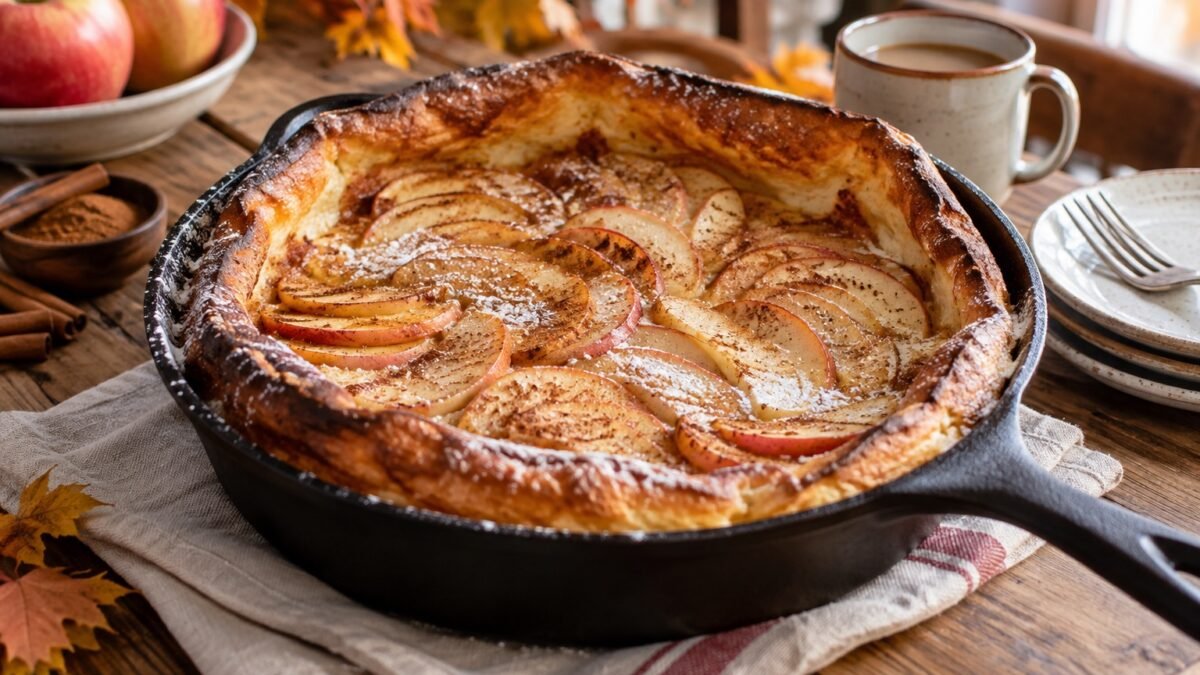
A Dutch baby looks dramatic but asks very little of you: whisk the batter, warm the pan, and let the oven do the work. Apples go in first so they soften while the edges climb.
A hot pan makes the rise
Preheat the skillet with the oven and pour the batter into hot butter. Do not open the oven during the first 15 minutes. The pancake will settle after baking; that is normal, so serve it promptly.
Serving and storage
Use a 10-inch oven-safe skillet. A spoonful of yogurt or maple syrup is enough on top. The texture is best fresh, but leftovers can be warmed briefly in the oven.
A hot skillet helps the pancake rise
Use an oven-safe skillet and preheat it as directed. Pouring the batter into a hot pan helps it begin setting quickly. Protect your hands when moving it, and remember that the handle stays hot after it comes out.
Avoid opening the oven repeatedly during baking. Have the plates and toppings ready before the pancake finishes; a Dutch baby naturally deflates as it cools, and that settling is not a failure.
Why did my Dutch baby collapse?
The dramatic puff is temporary. Steam expands the batter in the oven and escapes after baking. If the center is still wet rather than set, check the bake before removing it; color alone does not describe the center.
More recipes to try
Editorial note: RecipeLeaf has not independently kitchen-tested this recipe. Preparation times and yield are estimates; use visual doneness cues and applicable food-safety guidance. The featured image is an illustrative representation.